If you love decorating your stateroom door on a Disney cruise, a custom door banner is one of the easiest ways to make your room feel festive and completely your own.
And the best part? You don’t need to be a professional designer or spend a fortune on a custom banner. You can design the entire thing yourself in Canva, have it printed locally, and simply pack it in your luggage for your cruise.
Here’s exactly how I make mine!
What You’ll Need
- Canva
- Disney-themed PNG graphics
- A Walgreens Photo account
- A 2′ x 6′ banner
- Heavy-duty magnets
- Your stateroom number
Step 1: Create Your Banner in Canva
Start by creating a custom-size design in Canva measuring 2 feet by 6 feet (24″ x 72″).
From there, the fun part begins!
You can customize your banner however you want. Add your favorite colors, quotes, cruise information, characters, family names, or anything else that fits the theme of your sailing.
For my banners, I love using Mickey and friends, but you can make yours completely unique to your family and your cruise.
A Tip That Will Save You Time
I recommend adding your stateroom number directly into the design.
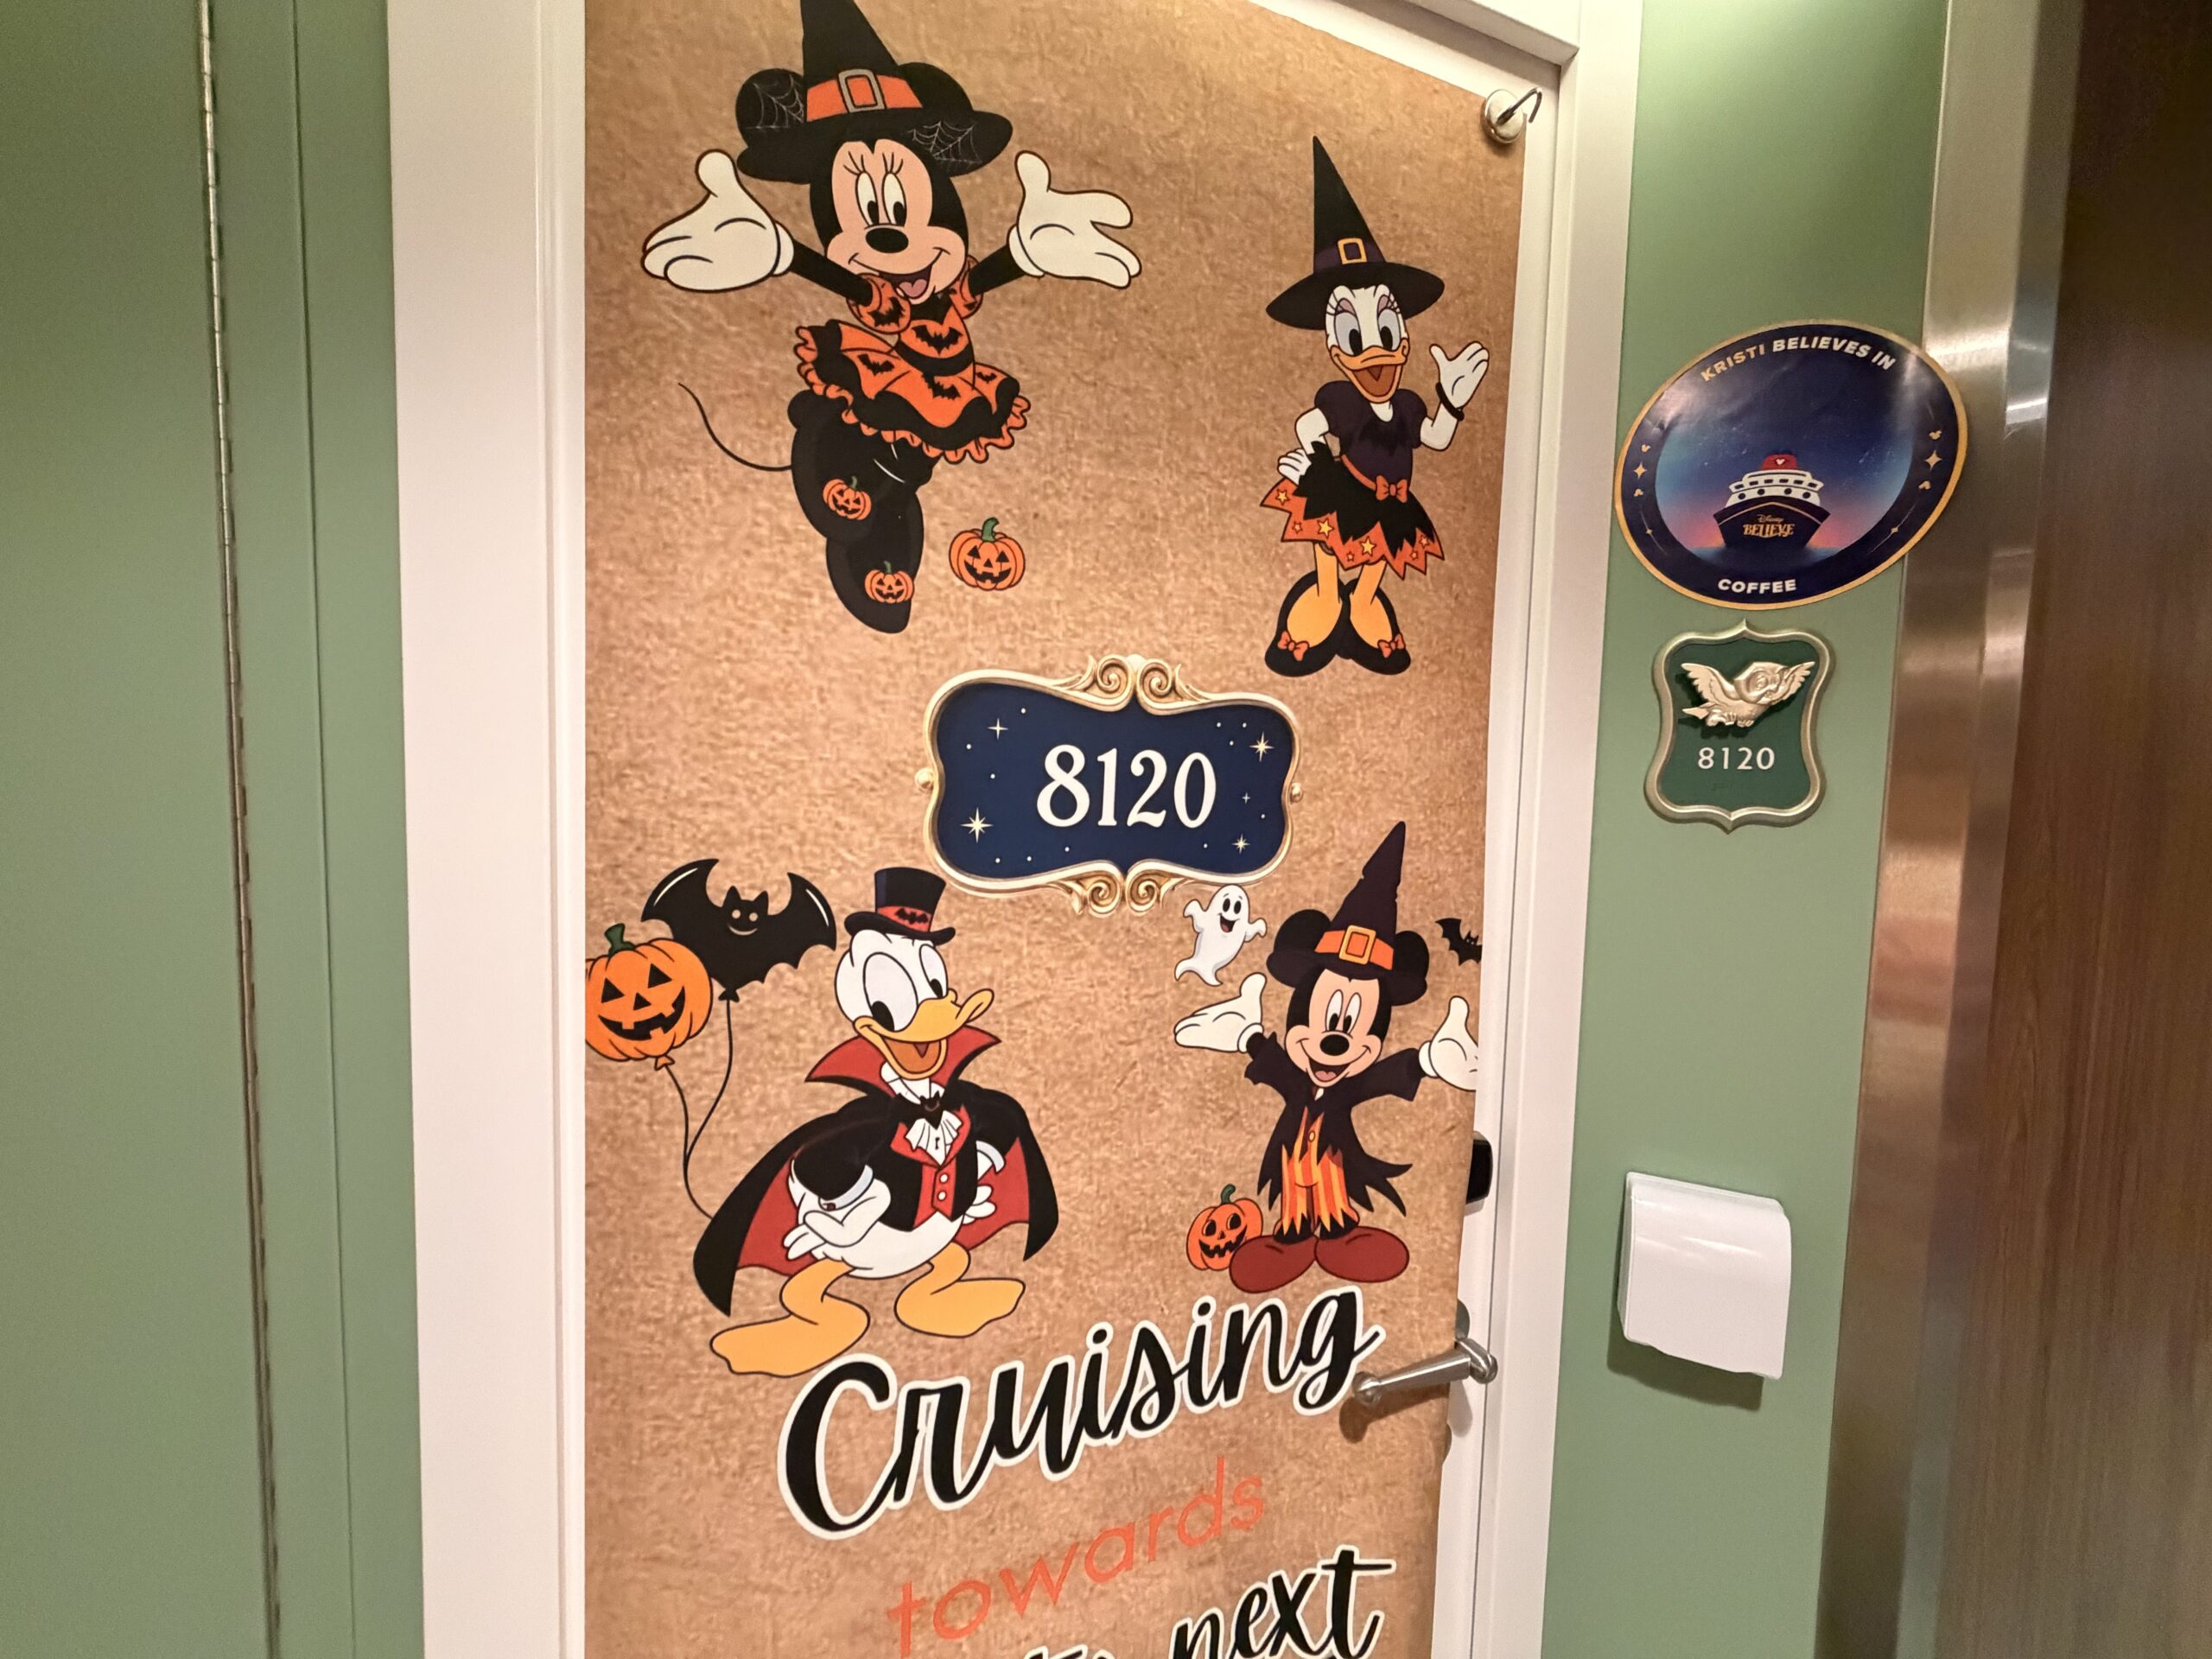
This is a little trick that saves me time later. Instead of trying to cut around the metal stateroom number plate on the ship’s door, I simply design the banner around it from the beginning.
Step 2: Find Your Graphics
For character graphics, I typically look for PNG files on Etsy. There are lots of Disney-inspired and Disney-themed digital graphics available from different sellers.
Once I purchase the files I want, I upload them directly into Canva.
Important: Always make sure you understand the seller’s licensing terms before using any digital artwork. I use these graphics for my own personal cruise decorations and do not sell or redistribute the artwork.
I also recommend looking for transparent PNG files. These make designing much easier because you can place the characters anywhere on your banner without having to work around a background.
Step 3: Design Your Banner
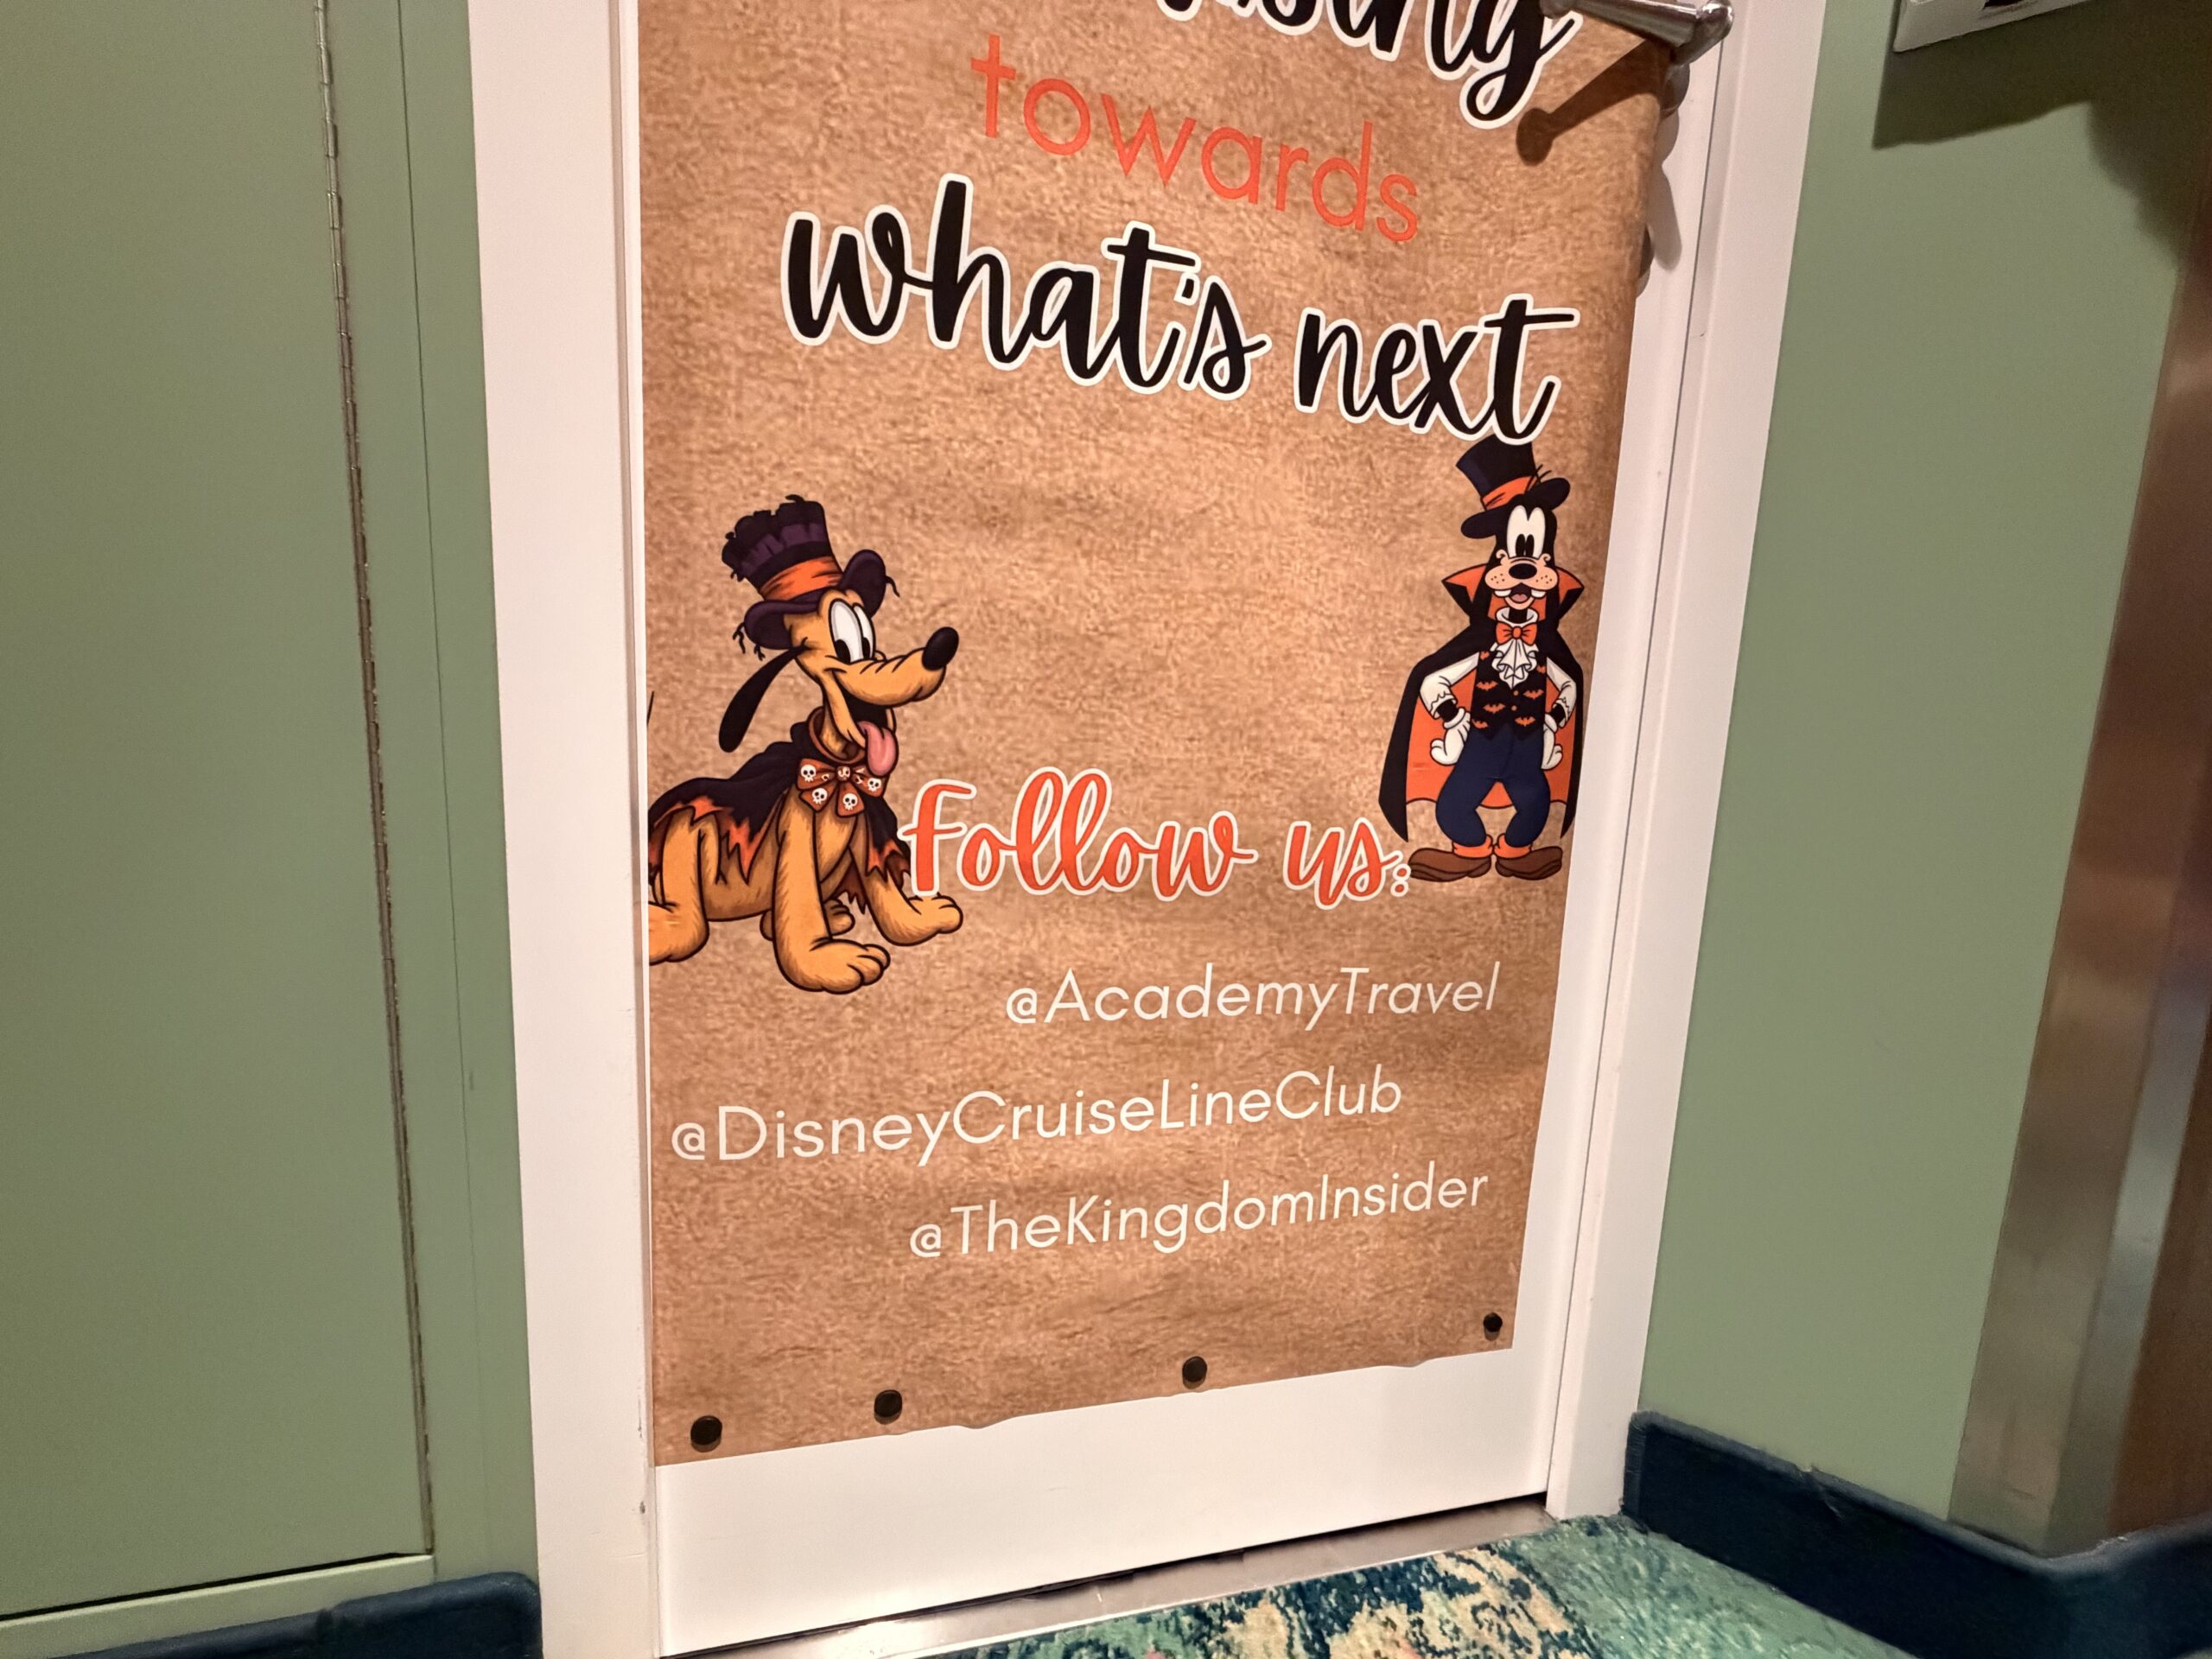
Once your graphics are uploaded, start arranging your characters, text, colors, and other decorations until you’re happy with your design.
Don’t worry about making it perfect right away. One of the best things about Canva is how easy it is to move things around and experiment.
The banner in my example has a Halloween theme, but you absolutely don’t have to be sailing on a Halloween cruise to use this idea.
You could create:
- A tropical-themed banner
- A Very Merrytime Christmas banner
- A birthday cruise banner
- A first-cruise banner
- A honeymoon or anniversary banner
- A family cruise banner
- A favorite Disney character theme
The possibilities are pretty much endless!
Step 4: Download Your Finished Design
Once you’re happy with your banner, download it from Canva using the highest-quality setting available.
One thing to be aware of: Canva may give you a warning that your design is low resolution because of the unusually large banner dimensions.
Don’t panic!
I’ve received that warning on my banners before, and they’ve still printed beautifully.
Step 5: Have Your Banner Printed at Walgreens
This is probably my favorite part because it makes the entire project surprisingly inexpensive.
I upload my finished design to Walgreens Photo and order it as a:
2′ x 6′ Banner — Banner Paper
Walgreens frequently offers photo-printing discounts, so I always keep an eye out for a sale before placing my order.
With the discounts I’ve found, I’ve never paid more than about $13 for one of my banners.
For a giant 2-foot-by-6-foot custom decoration, that’s a pretty great deal!
Step 6: Pack It for Your Cruise
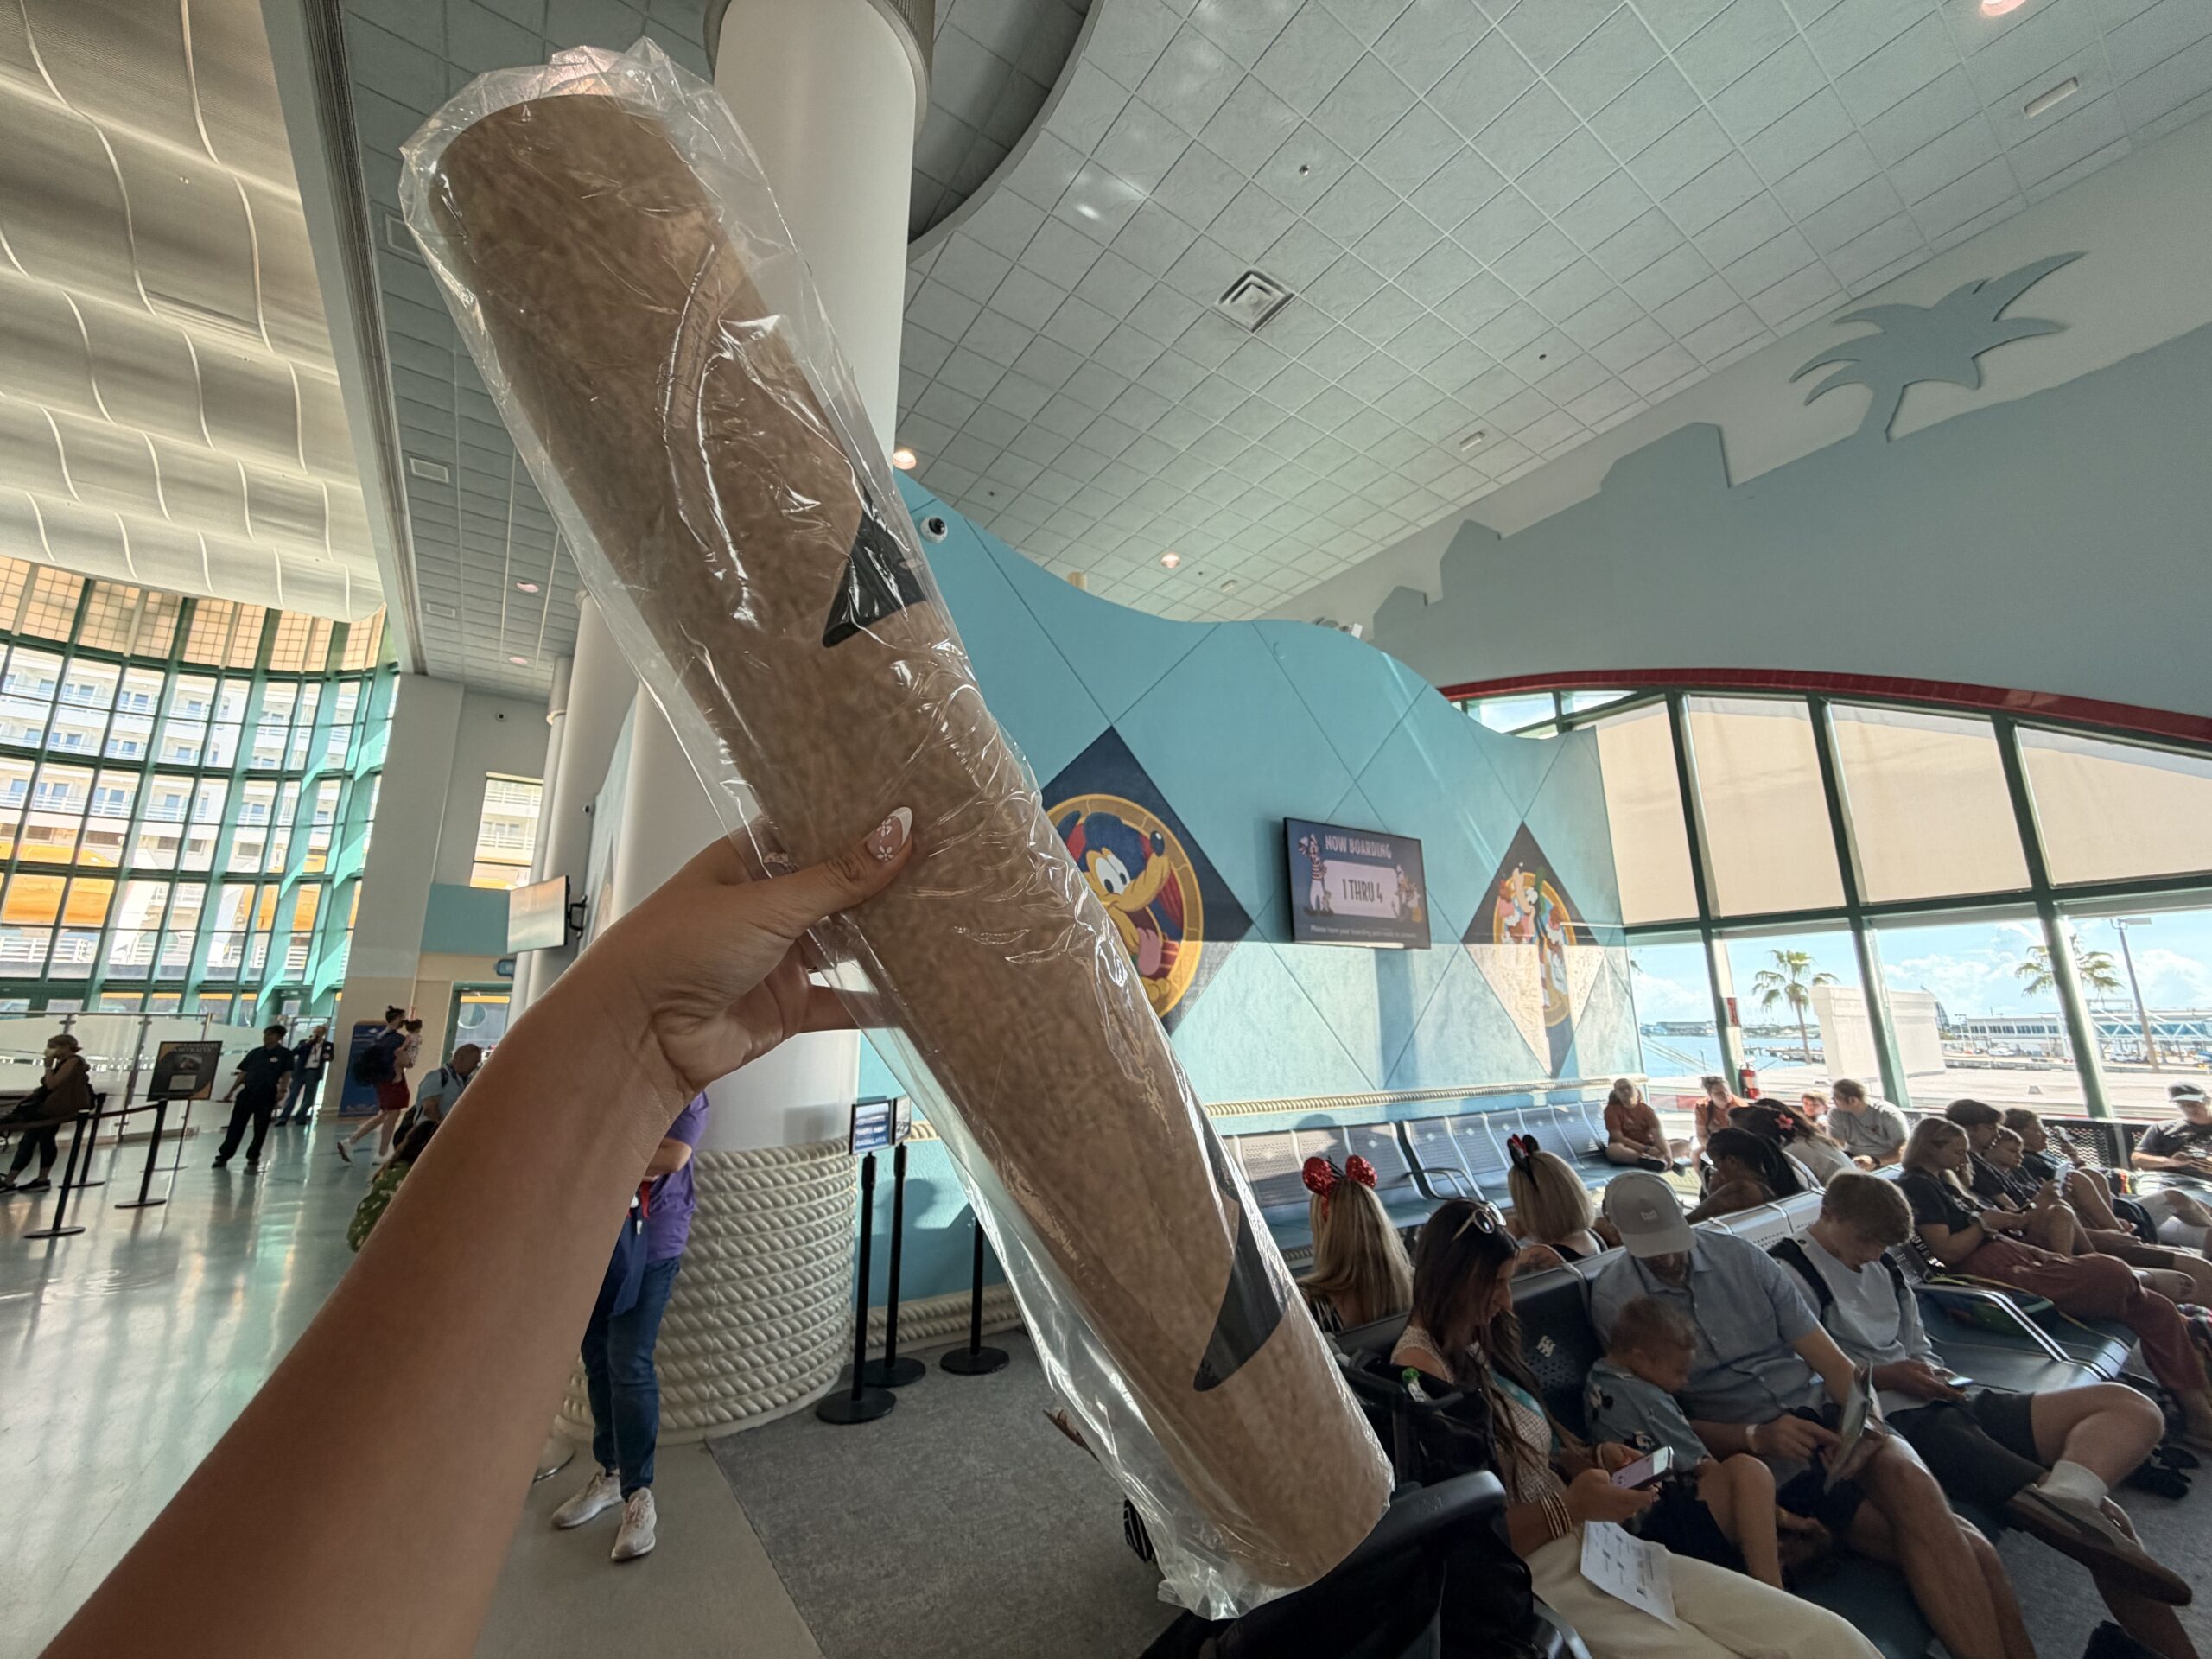
Once your banner is printed, you’re ready to go!
I carefully roll mine up and pack it with the rest of my cruise items. Once I get onboard, I use heavy-duty magnets to attach it to my stateroom door.
And that’s it!
You now have a completely custom cruise-door decoration without having to pay someone else to design one for you.
One Very Important Cruise-Door Tip
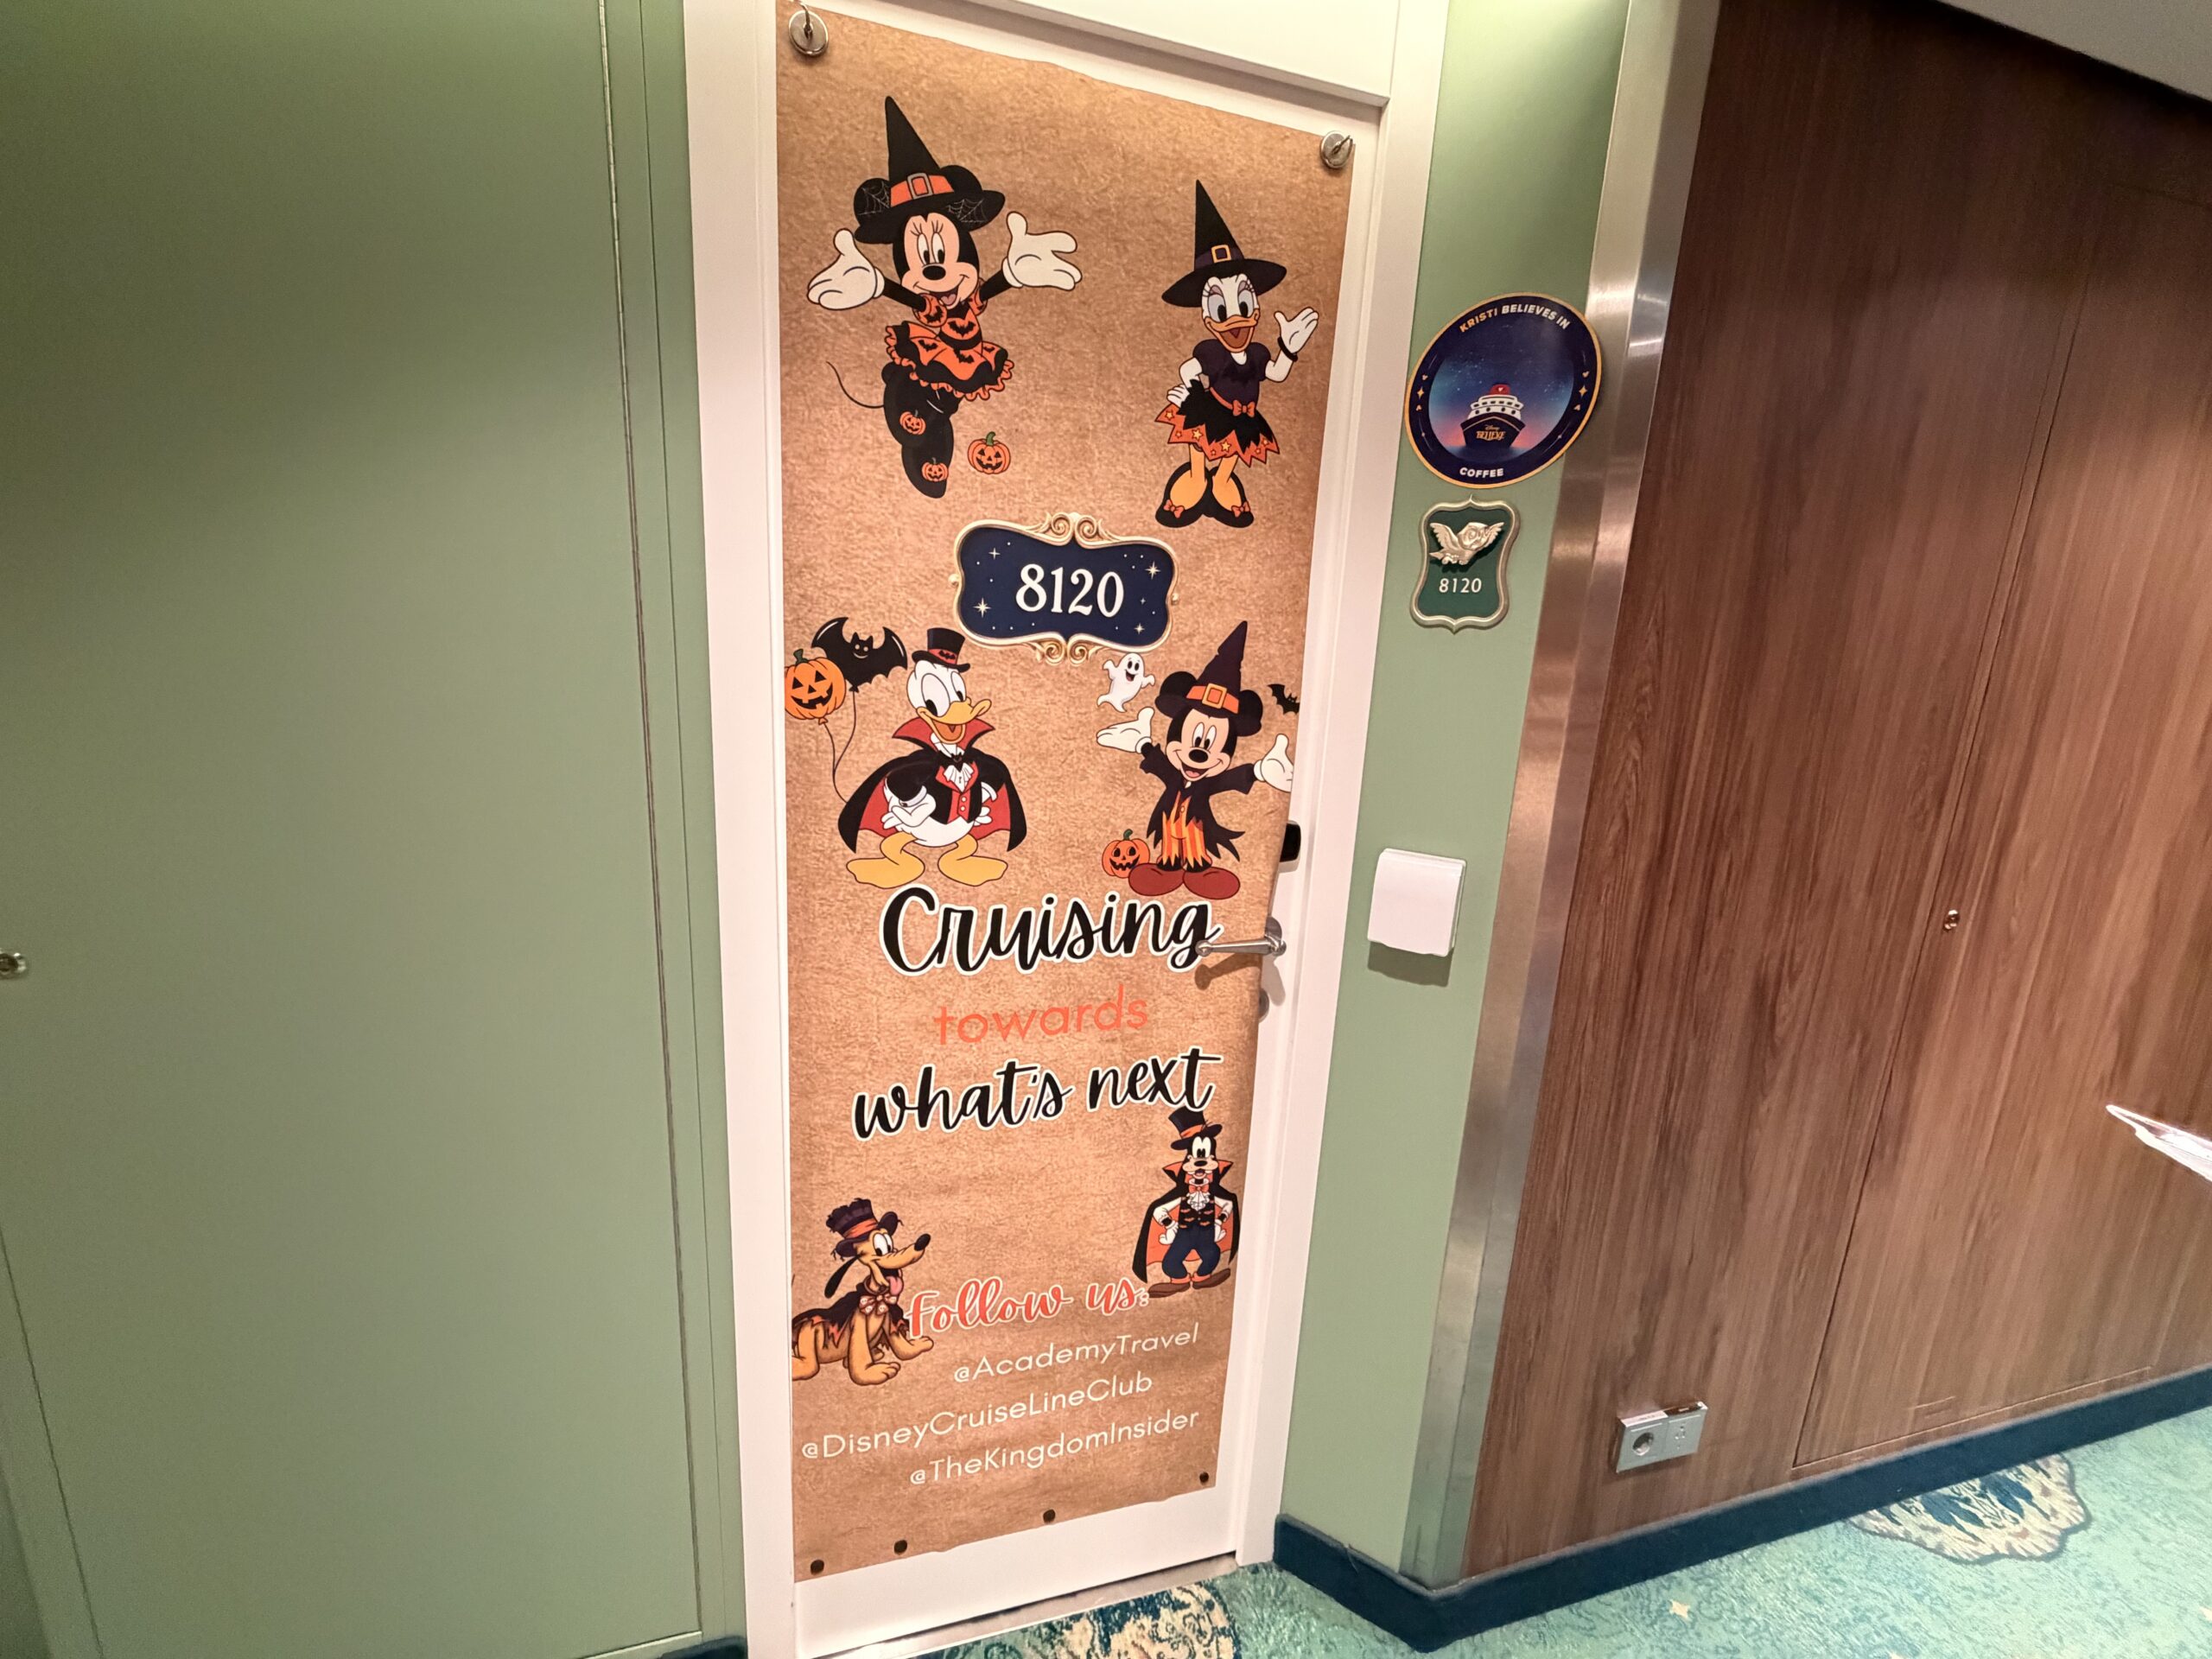
Do not use tape or adhesive on your stateroom door.
I stick with magnets because they allow me to securely hang my banner without putting adhesive directly on the door.
Heavy-duty magnets have worked well for me and make taking the banner down at the end of the cruise incredibly easy.
As always, make sure any decorations you bring onboard follow the current cruise line’s rules and guidelines.
My Go-To Banner Size
After doing this on multiple sailings, I’ve personally found that 2 feet by 6 feet works really well for me.
I’ve used this size on both the Disney Wish and Disney Destiny, and I love how it looks on the stateroom door.
The result is a giant, personalized decoration that makes a big statement without requiring a complicated DIY project.
The Whole Process at a Glance
Canva → 24″ x 72″ design → Add your graphics → Add your stateroom number → Download → Walgreens → 2′ x 6′ Banner Paper → Pack → Heavy-duty magnets → Disney Cruise!
And that’s really all there is to it!
What sounds like a complicated custom cruise decoration is actually a pretty simple Canva project—and the finished banner makes finding your stateroom and coming back to your room each day that much more fun.
So whether you’re sailing for Halloween, Christmas, a birthday, or simply your next Disney vacation, consider making your own custom cruise-door banner. It’s an easy way to add a little extra Disney magic to your sailing.